Stegback provides sellers with an intuitive platform for managing products across multiple marketplaces. There are three types of products that you can create on Stegback: Simple, Group, and Variable. Each product type serves a different purpose in helping you manage your e-commerce store. For detailed information about these product types, please refer to our dedicated article here.
In this guide, we’ll focus on how to create a Simple Product, which is a standalone item with no variations (such as color or size).
Steps to Create a Simple Product
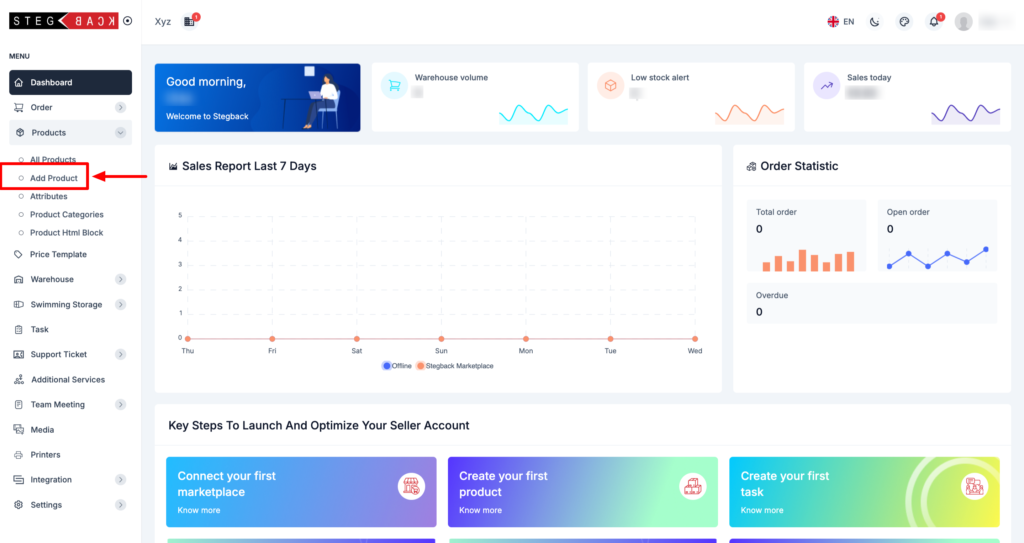
- Navigate to the Product Creation Section:
- Log in to your Stegback Seller Portal.
- Go to the Products section from your dashboard.
- Click on the Create Product button to start adding a new product.
- Fill Out the Product Creation Form:
You’ll need to fill in the following details in the product creation form:
Basic Product Information
- Product Name:*
Enter the name of your product. This should be descriptive and unique to help customers easily identify it.
Example: “Wireless Bluetooth Speaker” - SKU (Stock Keeping Unit)*:
Provide a unique SKU for your product to help with inventory tracking.
Example: SKU12345 - Type:*
Select the product type. Since we are creating a Simple product, choose Simple from the dropdown menu. - Category:*
Choose the appropriate category for your product from the dropdown menu. Categorizing products helps in organizing your inventory and improving discoverability. - Default Language:*
Select the default language for the product description. The default option is usually German (de).

Pricing & Stock Information
- Buying Price:*
Enter the cost at which you purchase the product. This is useful for calculating profit margins. - Selling Price:
Provide the price at which you will sell the product to customers. If you don’t want to set this now, you can leave it blank and use a Price Template if applicable. - Price Template:
If you have pre-set pricing templates, select one here. Otherwise, you can skip this step. - Quantity:*
Enter the available stock quantity for this product.
Example: 50

Shipping Information
- Estimated Delivery Days:
Enter the estimated number of days for delivery.
Example: 2 or 5 days - Weight:
Enter the weight of the product, including its packaging.
Example: 1.5 kg - Dimensions (L × B × H)Cm:
Input the product’s dimensions (length × breadth × height) in centimeters.
Example: 10 cm (L) × 15 cm (B) × 5 cm (H)

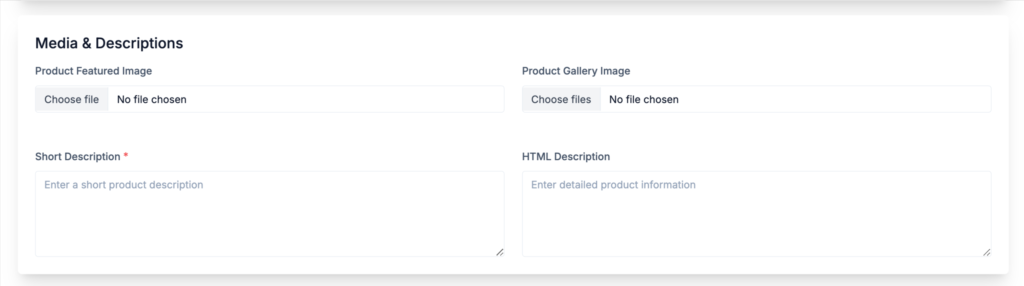
Media & Descriptions
- Product Featured Image:
Upload a featured image of the product. This image will be displayed as the primary product image on your storefront. - Product Gallery Images:
You can also upload additional images to showcase different angles or features of your product. - Short Description:*
Write a concise description of the product. This short description is often displayed next to the product title in listings.
Example: “A compact, high-quality wireless Bluetooth speaker with excellent sound quality.” - HTML Description:
Enter a more detailed description of the product using HTML if needed. This can include technical specifications, features, or benefits of the product.
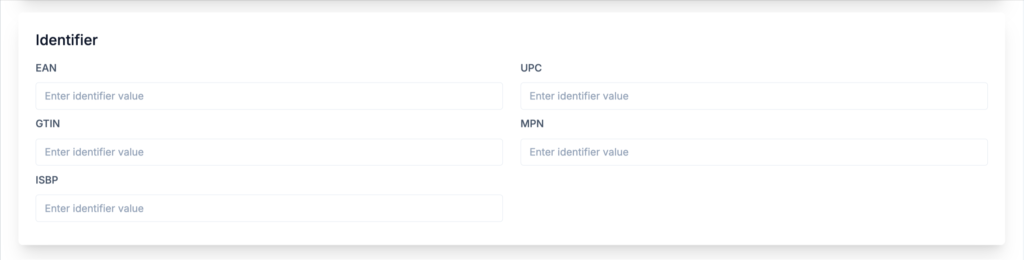
Identifiers
- EAN/UPC/GTIN/MPN/ISBP:
If your product has any unique identifiers like EAN, UPC, GTIN, MPN, or ISBP, enter them here. These codes are often used for inventory tracking and marketplace listings.
Taxable Information
- Taxable/Non-Taxable:
Choose whether the product is Taxable or Non-Taxable. Select the appropriate option based on your product type and local tax regulations. - Currency:
By default, the currency is set to Euro (€). Ensure it matches the currency you wish to use for the product’s selling price.

Submit the Product
Once all required fields (*) are filled, and you’ve reviewed the information, click the Submit button. Your product will now be saved in the Stegback system, and you can manage it from the product listings page.
What’s Next?
After creating the product, you can configure additional settings like setting up shipping options, linking it to marketing campaigns, or adjusting inventory rules. For more complex product types such as Group and Variable products, refer to our article on product types in Stegback.
By following these steps, you can successfully create and manage simple products on Stegback, streamlining your inventory management and improving the overall shopping experience for your customers.