Managing your inventory across different locations can be crucial for a successful multi-vendor business. Stegback software allows sellers to create and manage warehouses, making it easier to track stock levels, streamline order fulfillment, and improve overall efficiency. In this guide, we’ll walk you through the process of adding a new warehouse using Stegback.
Steps to Create a Warehouse
Follow these steps to Add a New Warehouse in Stegback.
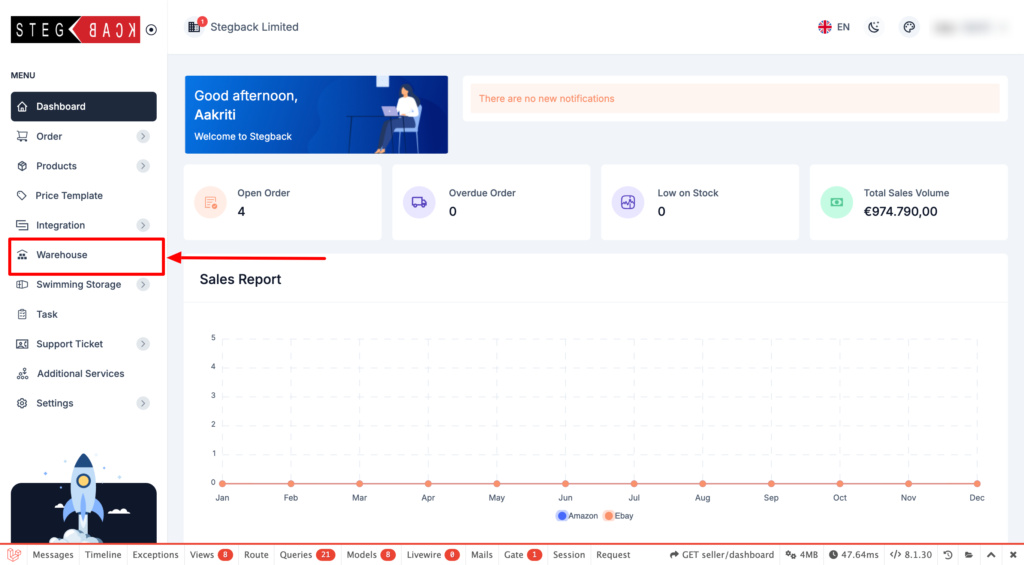
1. Navigate to the Warehouse Section
First, log into your seller dashboard and go to the section where you can manage or add warehouses. There you will find the option to Add Warehouse.
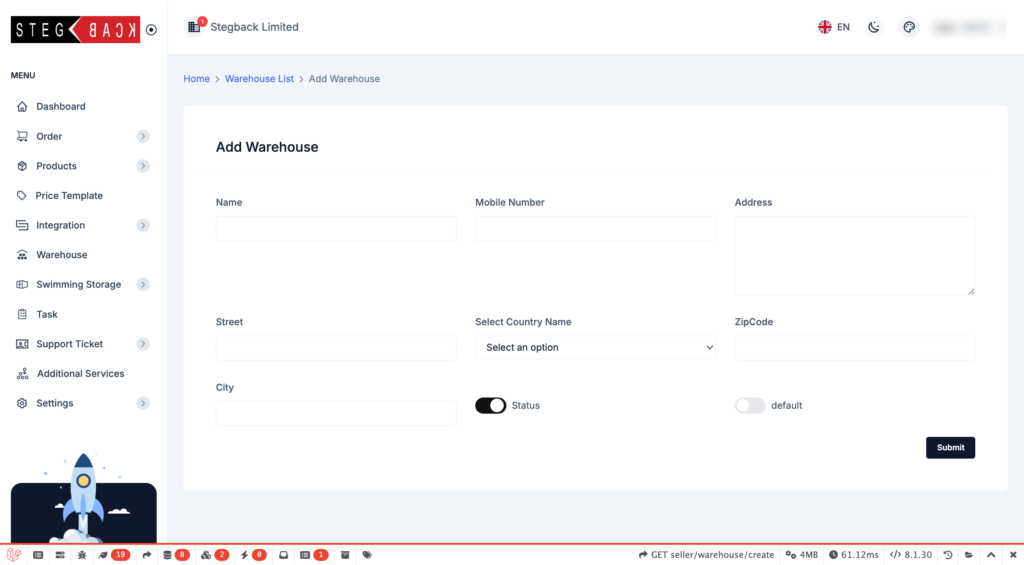
2. Fill Out the Warehouse Form
The warehouse form contains various fields where you will enter details about the new warehouse. Here’s an explanation of each field:
Form Fields:
- Name:
Enter the name of the warehouse. This should be a unique and descriptive name, especially if you are managing multiple warehouses. For example, if the warehouse is in Berlin, you could name it “Berlin Warehouse.” - Mobile Number:
Provide the contact number for the warehouse. This number will be useful for communication with warehouse staff or for customers to get in touch if needed. - Address:
Enter the full address of the warehouse. This will help with delivery and shipment tracking. - Street:
Input the street name where the warehouse is located. Be as specific as possible to ensure the address is clear. - Select Country Name:
Choose the country where the warehouse is located from the dropdown menu. Make sure the country corresponds with the warehouse’s physical location. - ZipCode:
Enter the postal code or ZIP code for the warehouse location. This helps with logistics and shipping. - City:
Provide the city name where the warehouse is situated. - Status:
You’ll need to choose a status for the warehouse. If this warehouse is going to be your primary or default storage location, select Default. Otherwise, leave this as the default setting.
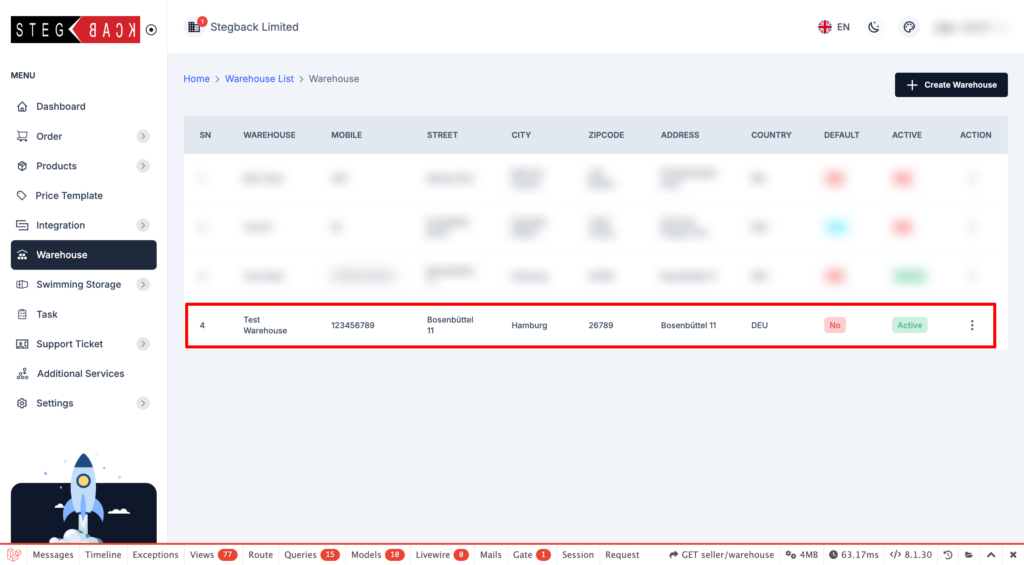
3. Submit the Form
Once you’ve entered all the required information, click the Submit button. This will save the new warehouse in the system, and you can begin using it for inventory management, shipping, and order fulfillment.
Tips for Managing Warehouses
- Accurate Location Details: Ensure all the details such as address, city, and country are correctly filled in to avoid any delivery or logistical issues.
- Multiple Warehouses: If you manage multiple warehouses, make sure to assign descriptive names to each one for easy identification, like “Berlin Warehouse” or “Warehouse #2.”
- Default Warehouse: If this new warehouse will be your main or central location for storing inventory, select the Default status so the system prioritizes this location for order fulfillment.
By following these steps, you can easily add new warehouses to your Stegback software account, allowing for a more organized and efficient inventory management system.